Xmailer
  • Xmailer: The Ultimate Email Marketing Platform
  • CONTACT LIST MANAGEMENT
    • Create a contact list
    • Resubscribe after an unsubscribe
    • List X-Ray
    • View or search your contacts
    • Contact Tags Manager
    • Export your contact list
    • Uploading a suppression list
    • Large suppression files
    • Exclusion Lists
    • GDPR Delete & Export
  • SEGMENTING
    • What you can do with segments
    • Create a segment
    • Designing your segment
    • Tag contacts in a segment
    • Export a Segment's Contacts
    • A/B test using segments
  • BROADCAST
    • What you can do with broadcasts
    • Create a Broadcast
    • Broadcast Settings
    • Choosing your email composer
    • Augment your subject line with a preheader
    • Adding your recipients
    • Schedule your Broadcast
    • Resend to non-openers automation
    • Broadcast Reporting
    • Duplicate a broadcast
    • Tag contacts who Open your broadcast
    • Resume an incomplete broadcast
    • Export Broadcast Openers & Unsubscribes
    • Cancel a broadcast
    • Cancel a broadcast funnel trigger
    • Revise tagging and funnel triggers for sent broadcasts
  • USING THE DRAG & DROP EMAIL COMPOSER
    • The Basics
      • Content Row Properties
      • Designing your email - Using Columns
      • Footer
      • Social Media Component
    • Working with multimedia
      • Adding video to your page
      • Using the image editor
      • Using dynamic images for countdown timers and personalized content
      • Search for free, high-quality stock photos in Xmailer
      • Editing Image Properties
      • Adding GIF animations & animated stickers with GIPHY
      • Adding video to your email
      • Using the File Manager
      • How to use external images in your design
    • Working with content blocks
      • Table Content Block
      • Using Internal Links in Pages
      • Working with paragraph and list content blocks
      • Using dividers and spacers
      • Letter and Paragraph spacing
      • Working with titles
      • Working with menus in Xmailer
      • Working with icons
      • Working with custom HTML
    • Settings, rows, & columns
      • Dark Mode Preview
      • Designing with Workspace Styles
      • Designing with Saved Rows
      • Mobile design mode
      • Co-editing
      • Column management
      • Configuring design settings
      • Settings, Rows, and Content: How do they work?
      • Adding a background image to your designs
      • How do I change the properties of a row?
      • Mobile Optimization Options
      • How do I select a row vs. content?
      • Undo, redo & history
      • Working with padding
      • Working with borders
      • Saving your designs in Xmailer
      • Locking content to prevent editing
  • FUNNELS
    • What you can do with funnels
    • Create a funnel
    • Choosing your funnel type
    • From Name & From Email - editing
    • Activating your funnel
    • Trigger an email funnel from a broadcast
    • Tag contacts who open your funnel messages
    • Choosing your email composer
    • Page Augment your subject line with a preheader
    • Design your automated email sequence
    • Contact Suppression and Exclusion
    • Adding a funnel to an opt-in subscriber form
  • SUBSCRIBER OPT-IN FORMS
    • What you can do with forms
    • Create an opt-in form
    • Sending to double opt-in contacts
    • Choosing your form type: floating bars, lightboxes,inline naked embedded, slide outs
    • Exit intent and display rules
    • Adding email and name input boxes to your form
    • Setting the size of your form
    • Configuring how your form displays on mobile devices
    • Configuring your mobile width
    • Add a close window X to your form
    • Adding a "No" button that closes your form
    • Tag subscribers who opt-in to your form
    • Adding "no thanks" text which closes your form
    • View your form conversion rate
    • Connect an existing form to your account
    • Adding your form to your website
    • Add opt-in subscribers to an automated email sequence
Powered by GitBook
On this page
  • Overview
  • Using Icons
  • Use Cases
  1. USING THE DRAG & DROP EMAIL COMPOSER
  2. Working with content blocks

Working with icons

PreviousWorking with menus in XmailerNextWorking with custom HTML

Last updated 1 year ago

Overview

With the introduction of icons, it's easier than ever to place images and text together in the Xmailer builder. This type of content block allows you to use small images and text together in a single content block to provide more flexibility in your designs.

Using Icons

In order to get started, drag an icon content block into a row. A filler image will fill the content block; click on this to open the icon options in the sidebar.

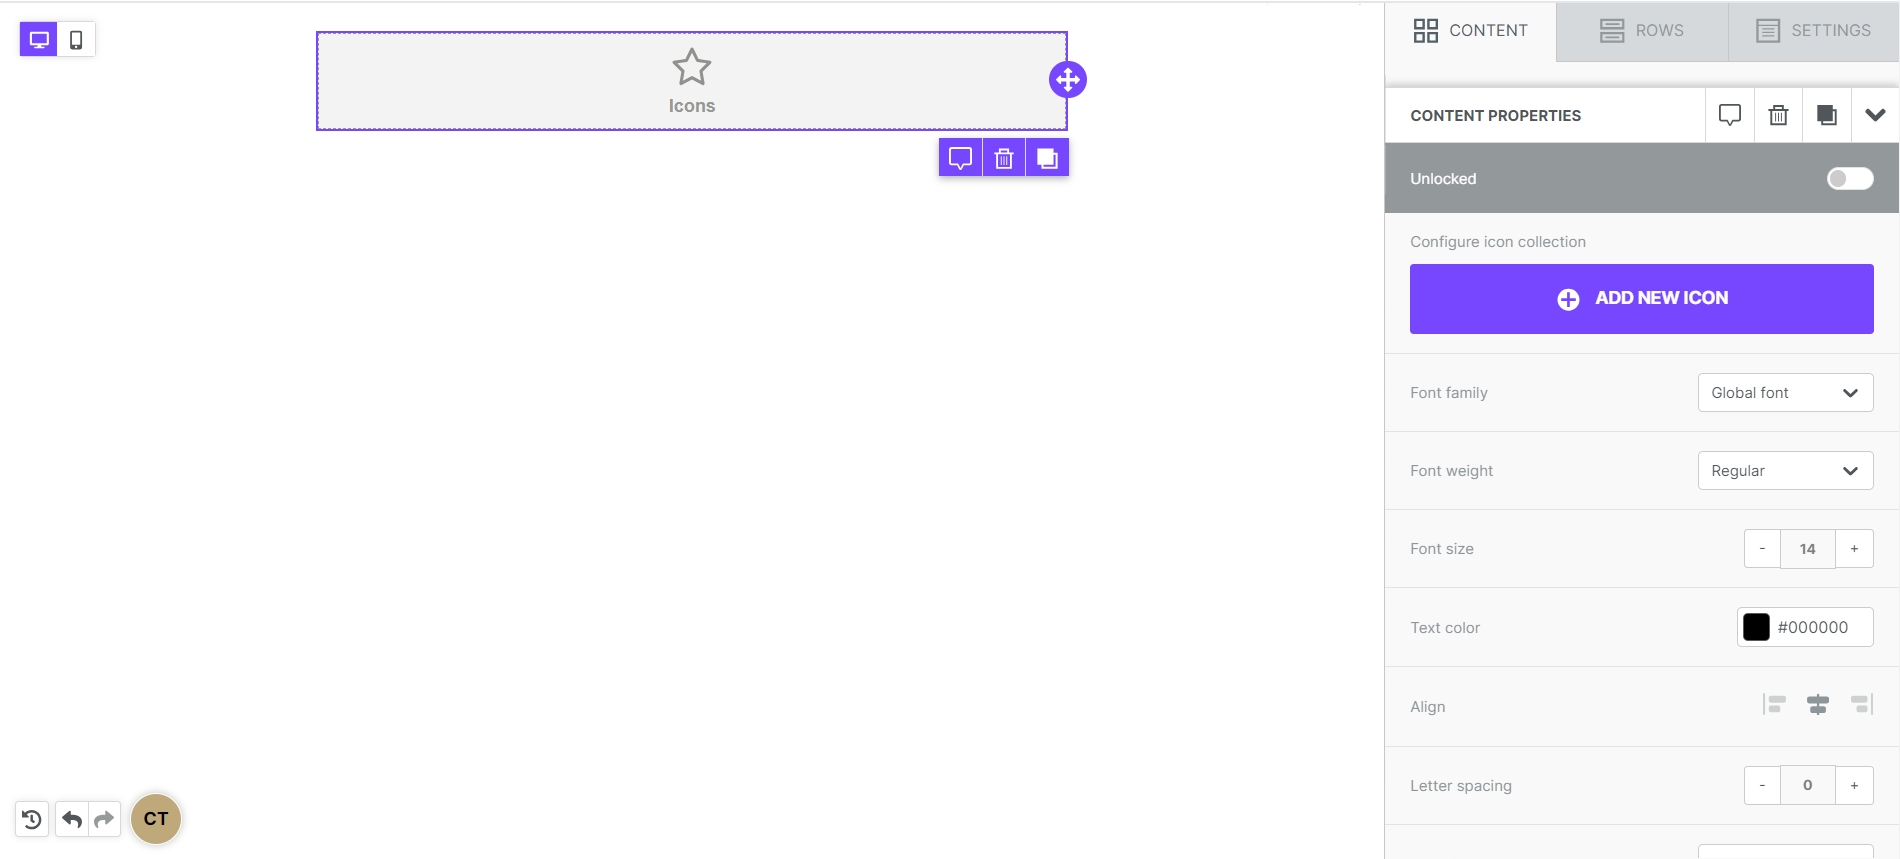
Click on Add new icon to get started. A pre-loaded icon will populate on the builder stage.

This content block works much like social icons; you can use the pre-loaded icon, or you can change the image by using the Change image button. This will open the file manager. You also have access to the image editor, if you use the Apply effects & more button.

If you use the toggle to open More options, you'll find a couple of options specific to icon content blocks.

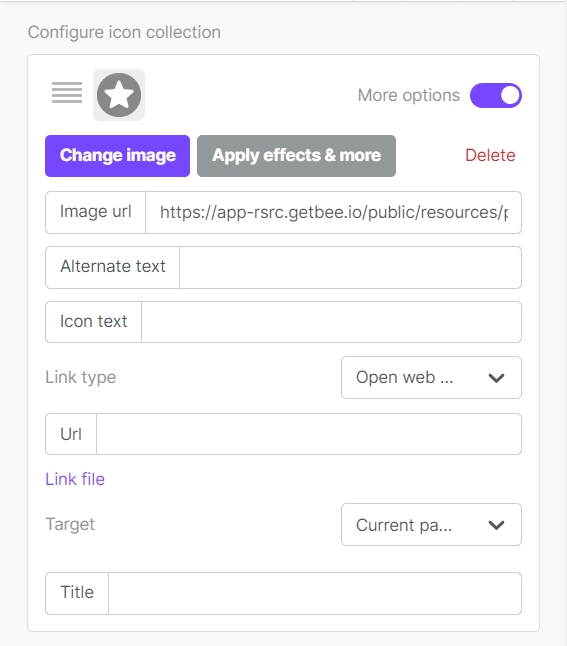
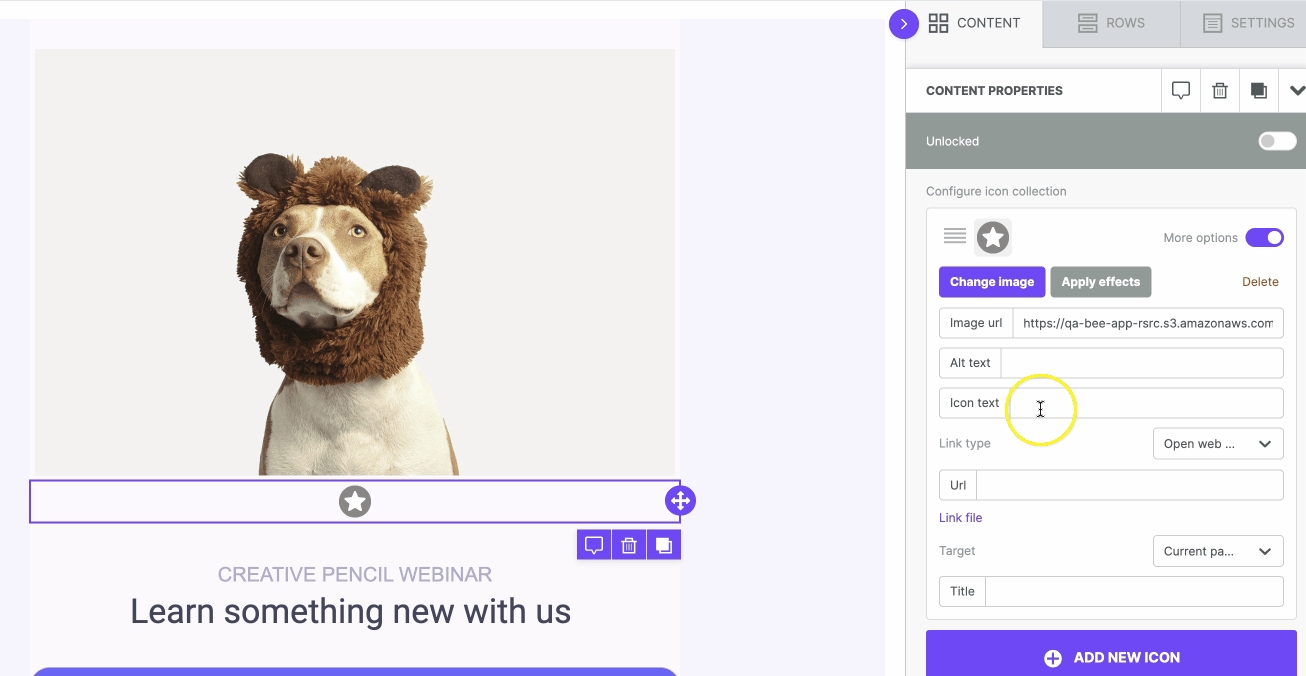
If you type in the Icon text field, an additional field will populate in the sidebar.

The text position dropdown allows you to change whether your text will populate above, below, or on either side of the icon image.

If you have multiple icons, you can click and drag them in order to re-order your icons. Select the icon in the upper lefthand corner of the icon properties box to drag it elsewhere.

Below, there are some additional settings. Many of these you may already be familiar with from other types of content blocks.

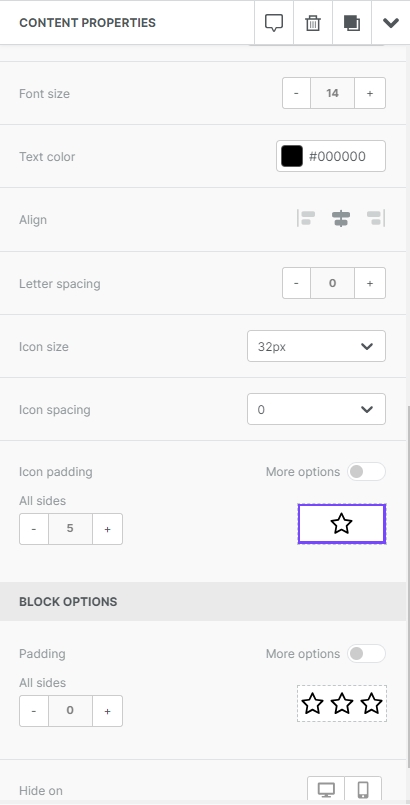
Settings specific to icons include icon size, in order to make your image icons larger and smaller, as well as icon spacing, which allows you to determine how much spacing exists between the individual content blocks. The other properties (padding, border, alignment, letter spacing, text formatting options, and hide on mobile/desktop) apply to the content block as a whole.

Use Cases

If you're looking for some inspiration for how to use icons in your designs, look no further! Icons can be used in order to:

Spice up your bullet points

Create a list of amenities

Collect feedback

Insert multiple logos