Xmailer
  • Xmailer: The Ultimate Email Marketing Platform
  • CONTACT LIST MANAGEMENT
    • Create a contact list
    • Resubscribe after an unsubscribe
    • List X-Ray
    • View or search your contacts
    • Contact Tags Manager
    • Export your contact list
    • Uploading a suppression list
    • Large suppression files
    • Exclusion Lists
    • GDPR Delete & Export
  • SEGMENTING
    • What you can do with segments
    • Create a segment
    • Designing your segment
    • Tag contacts in a segment
    • Export a Segment's Contacts
    • A/B test using segments
  • BROADCAST
    • What you can do with broadcasts
    • Create a Broadcast
    • Broadcast Settings
    • Choosing your email composer
    • Augment your subject line with a preheader
    • Adding your recipients
    • Schedule your Broadcast
    • Resend to non-openers automation
    • Broadcast Reporting
    • Duplicate a broadcast
    • Tag contacts who Open your broadcast
    • Resume an incomplete broadcast
    • Export Broadcast Openers & Unsubscribes
    • Cancel a broadcast
    • Cancel a broadcast funnel trigger
    • Revise tagging and funnel triggers for sent broadcasts
  • USING THE DRAG & DROP EMAIL COMPOSER
    • The Basics
      • Content Row Properties
      • Designing your email - Using Columns
      • Footer
      • Social Media Component
    • Working with multimedia
      • Adding video to your page
      • Using the image editor
      • Using dynamic images for countdown timers and personalized content
      • Search for free, high-quality stock photos in Xmailer
      • Editing Image Properties
      • Adding GIF animations & animated stickers with GIPHY
      • Adding video to your email
      • Using the File Manager
      • How to use external images in your design
    • Working with content blocks
      • Table Content Block
      • Using Internal Links in Pages
      • Working with paragraph and list content blocks
      • Using dividers and spacers
      • Letter and Paragraph spacing
      • Working with titles
      • Working with menus in Xmailer
      • Working with icons
      • Working with custom HTML
    • Settings, rows, & columns
      • Dark Mode Preview
      • Designing with Workspace Styles
      • Designing with Saved Rows
      • Mobile design mode
      • Co-editing
      • Column management
      • Configuring design settings
      • Settings, Rows, and Content: How do they work?
      • Adding a background image to your designs
      • How do I change the properties of a row?
      • Mobile Optimization Options
      • How do I select a row vs. content?
      • Undo, redo & history
      • Working with padding
      • Working with borders
      • Saving your designs in Xmailer
      • Locking content to prevent editing
  • FUNNELS
    • What you can do with funnels
    • Create a funnel
    • Choosing your funnel type
    • From Name & From Email - editing
    • Activating your funnel
    • Trigger an email funnel from a broadcast
    • Tag contacts who open your funnel messages
    • Choosing your email composer
    • Page Augment your subject line with a preheader
    • Design your automated email sequence
    • Contact Suppression and Exclusion
    • Adding a funnel to an opt-in subscriber form
  • SUBSCRIBER OPT-IN FORMS
    • What you can do with forms
    • Create an opt-in form
    • Sending to double opt-in contacts
    • Choosing your form type: floating bars, lightboxes,inline naked embedded, slide outs
    • Exit intent and display rules
    • Adding email and name input boxes to your form
    • Setting the size of your form
    • Configuring how your form displays on mobile devices
    • Configuring your mobile width
    • Add a close window X to your form
    • Adding a "No" button that closes your form
    • Tag subscribers who opt-in to your form
    • Adding "no thanks" text which closes your form
    • View your form conversion rate
    • Connect an existing form to your account
    • Adding your form to your website
    • Add opt-in subscribers to an automated email sequence
Powered by GitBook
On this page
  • Overview
  • Why use custom code?
  • How do I add my HTML code?
  • Which HTML tags are allowed?
  • Using Custom HTML with Pages
  1. USING THE DRAG & DROP EMAIL COMPOSER
  2. Working with content blocks

Working with custom HTML

Overview

The Custom HTML content block allows you to easily add your own HTML code to a design created in the Xmailer builder. It’s as simple to use as a text block.

HTML experts only: Using your own code may affect how the design is rendered. This could prevent it from adjusting to the screen size (i.e. the "responsiveness" of the design). Make sure to use HTML that is email-compliant and responsive. Keep in mind that custom HTML is often outside of our scope of support.

Why use custom code?

There are many scenarios in which it makes sense to add your own HTML code:

Adding more customized content

You are not limited by a set of predefined parameters. This allows you more granular control of the styles applied.

Adding HTML 5 video, anchor links, etc.

You can now add content that is not available as a standard content element in the builder (HTML 5 video, anchor links, etc.).

Adding advanced effects with CSS

Get creative with animations! Please note that animation effects are not widely supported by email clients. However, when managed correctly, they can help your design go viral. Note that CSS can only be used in the HTML content block when designing Pages.

Adding live content from external providers

Custom HTML allows you to use advanced content in your designs. For example, you could create product recommendations, dynamic ads, personalized maps, or countdowns. Just copy and paste the code provided to you by the vendor that you are working with.

How do I add my HTML code?

To add your code just drag an HTML content element into your design. It works much like other content blocks, so you can place it anywhere in your design:

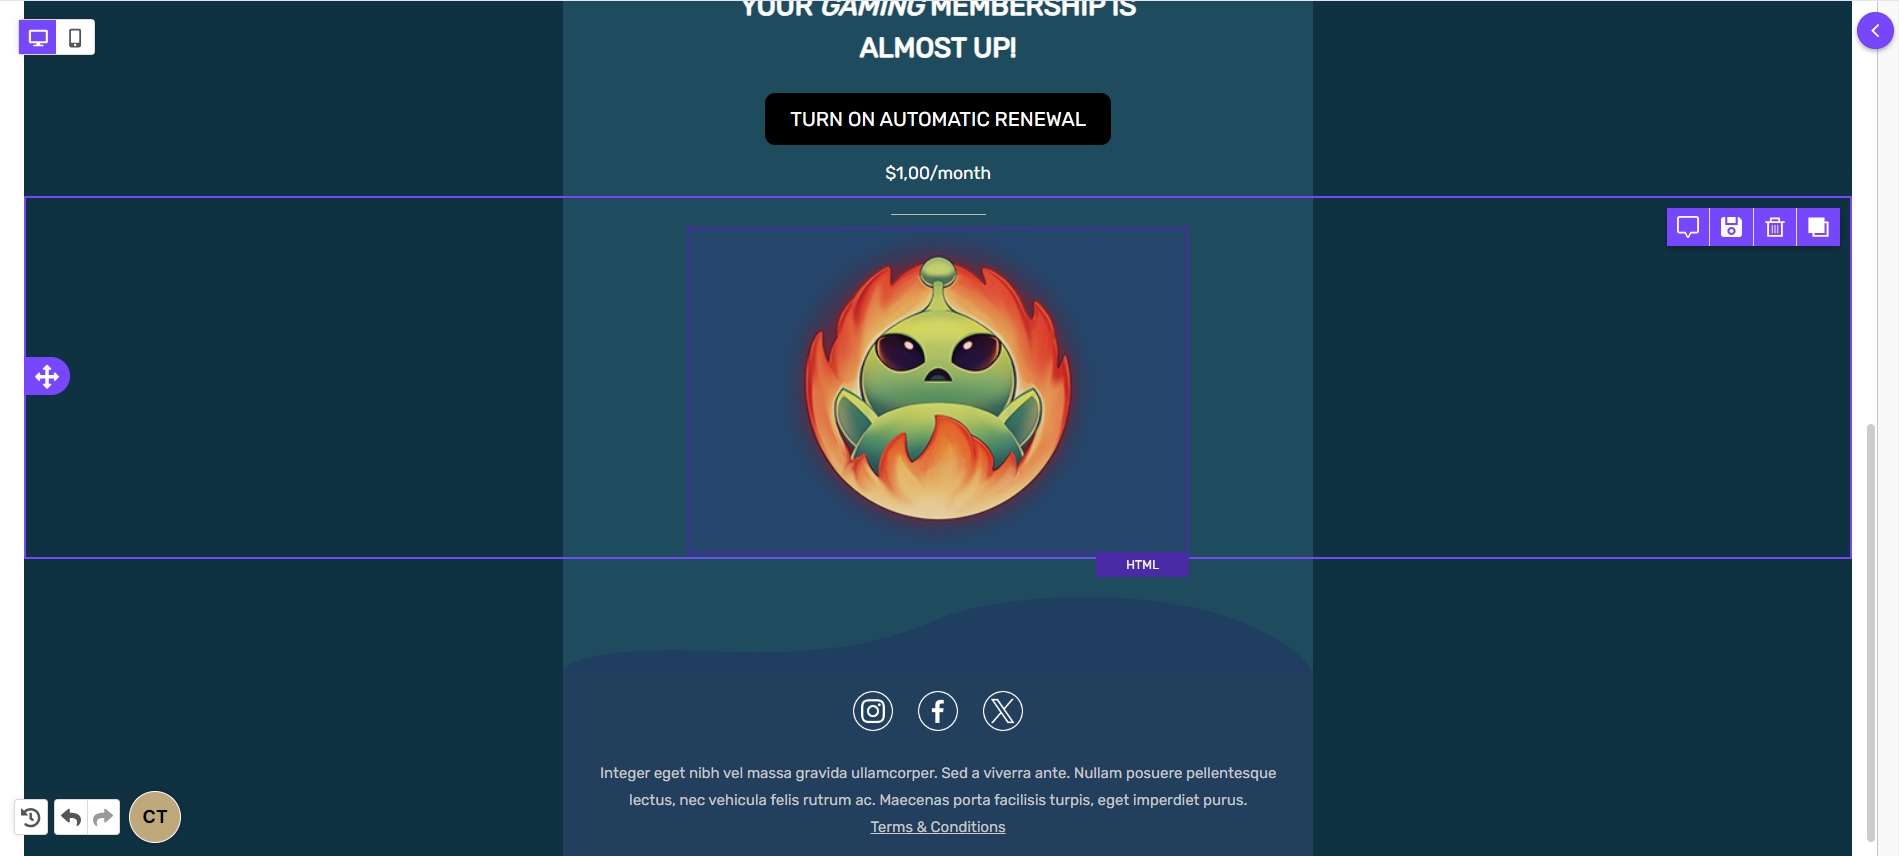
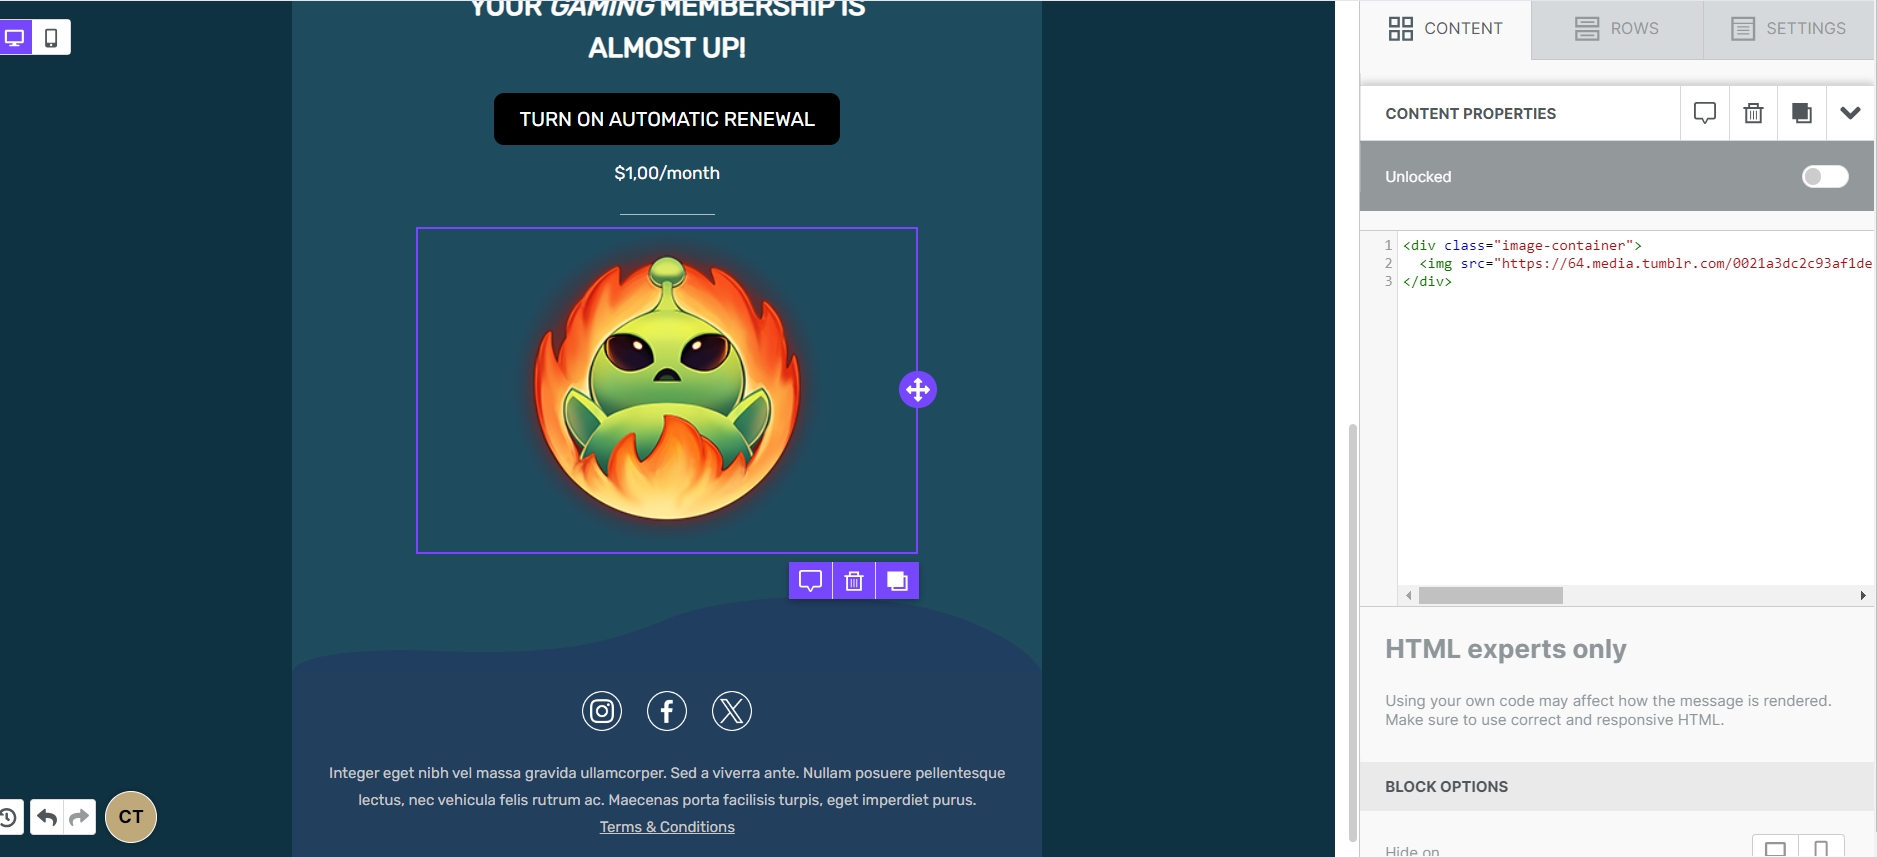
The newly inserted content block will show some placeholder text. Click on it and the right-side property panel will display the HTML code editing pane. You will find some placeholder code inside the editing area:

Paste your own HTML code or write it directly in the editing area. The system will highlight your syntax and indent your code to make it more readable.

Which HTML tags are allowed?

Allowed tags list:

a, abbr, acronym, address, area, b, bdo, big, blockquote, button, caption, center, cite, code, colgroup, dd, del, dfn, dir, div, dl, dt, em, fieldset, font, form, h1, h2, h3, h4, h5, h6, i, ins, kbd, label, legend, li, map, menu, ol, optgroup, option, p, pre, q, s, samp, select, small, span, strike, strong, sub, sup, table, tbody, td, textarea, tfoot, th, thead, u, tr, tt, u, ul, var

Allowed attributes list:

general attributes: style, id, class, data-*, title
a: href, name, target
img: align, alt, border height, hspace, src, vspace, width, usemap
table: align, bgcolor, border, cellpadding, cellspacing, width
tbody: align, valign
td: align, bgcolor, colspan, height, rowspan, valign, width
tr: align, bgcolor, valign
tfoot: align, valign
th: align, bicolor, colspan, height, rowspan, valign, width
thead: align, valign
li: type
map: name
area: alt, coords, href, shape, target

Using Custom HTML with Pages

The Page builder does not use the same sanitizer you'll find in our email builder. This means that it will not strip out syntax or fix any issues in your code. This is because browsers aren't likely to have limitations seen in email clients. If you want to use custom HTML on your landing page, you have complete freedom to do so.

PreviousWorking with iconsNextSettings, rows, & columns

Last updated 1 year ago

Note that this section applies only to custom HTML when used in the email builder. For information about using custom HTML in Pages, see the section .When using custom HTML in the email builder, a code sanitizer will validate your code. It will automatically correct some issues such as HTML tags that are left open. It will also strip out code that isn't often supported by email clients. For example, script and iframe tags are removed since they often cause deliverability problems or security risks.

below