Xmailer
  • Xmailer: The Ultimate Email Marketing Platform
  • CONTACT LIST MANAGEMENT
    • Create a contact list
    • Resubscribe after an unsubscribe
    • List X-Ray
    • View or search your contacts
    • Contact Tags Manager
    • Export your contact list
    • Uploading a suppression list
    • Large suppression files
    • Exclusion Lists
    • GDPR Delete & Export
  • SEGMENTING
    • What you can do with segments
    • Create a segment
    • Designing your segment
    • Tag contacts in a segment
    • Export a Segment's Contacts
    • A/B test using segments
  • BROADCAST
    • What you can do with broadcasts
    • Create a Broadcast
    • Broadcast Settings
    • Choosing your email composer
    • Augment your subject line with a preheader
    • Adding your recipients
    • Schedule your Broadcast
    • Resend to non-openers automation
    • Broadcast Reporting
    • Duplicate a broadcast
    • Tag contacts who Open your broadcast
    • Resume an incomplete broadcast
    • Export Broadcast Openers & Unsubscribes
    • Cancel a broadcast
    • Cancel a broadcast funnel trigger
    • Revise tagging and funnel triggers for sent broadcasts
  • USING THE DRAG & DROP EMAIL COMPOSER
    • The Basics
      • Content Row Properties
      • Designing your email - Using Columns
      • Footer
      • Social Media Component
    • Working with multimedia
      • Adding video to your page
      • Using the image editor
      • Using dynamic images for countdown timers and personalized content
      • Search for free, high-quality stock photos in Xmailer
      • Editing Image Properties
      • Adding GIF animations & animated stickers with GIPHY
      • Adding video to your email
      • Using the File Manager
      • How to use external images in your design
    • Working with content blocks
      • Table Content Block
      • Using Internal Links in Pages
      • Working with paragraph and list content blocks
      • Using dividers and spacers
      • Letter and Paragraph spacing
      • Working with titles
      • Working with menus in Xmailer
      • Working with icons
      • Working with custom HTML
    • Settings, rows, & columns
      • Dark Mode Preview
      • Designing with Workspace Styles
      • Designing with Saved Rows
      • Mobile design mode
      • Co-editing
      • Column management
      • Configuring design settings
      • Settings, Rows, and Content: How do they work?
      • Adding a background image to your designs
      • How do I change the properties of a row?
      • Mobile Optimization Options
      • How do I select a row vs. content?
      • Undo, redo & history
      • Working with padding
      • Working with borders
      • Saving your designs in Xmailer
      • Locking content to prevent editing
  • FUNNELS
    • What you can do with funnels
    • Create a funnel
    • Choosing your funnel type
    • From Name & From Email - editing
    • Activating your funnel
    • Trigger an email funnel from a broadcast
    • Tag contacts who open your funnel messages
    • Choosing your email composer
    • Page Augment your subject line with a preheader
    • Design your automated email sequence
    • Contact Suppression and Exclusion
    • Adding a funnel to an opt-in subscriber form
  • SUBSCRIBER OPT-IN FORMS
    • What you can do with forms
    • Create an opt-in form
    • Sending to double opt-in contacts
    • Choosing your form type: floating bars, lightboxes,inline naked embedded, slide outs
    • Exit intent and display rules
    • Adding email and name input boxes to your form
    • Setting the size of your form
    • Configuring how your form displays on mobile devices
    • Configuring your mobile width
    • Add a close window X to your form
    • Adding a "No" button that closes your form
    • Tag subscribers who opt-in to your form
    • Adding "no thanks" text which closes your form
    • View your form conversion rate
    • Connect an existing form to your account
    • Adding your form to your website
    • Add opt-in subscribers to an automated email sequence
Powered by GitBook
On this page
  1. USING THE DRAG & DROP EMAIL COMPOSER
  2. Settings, rows, & columns

Undo, redo & history

PreviousHow do I select a row vs. content?NextWorking with padding

Last updated 1 year ago

Overview

The Undo, redo and History features are very powerful tools when you are editing a design.

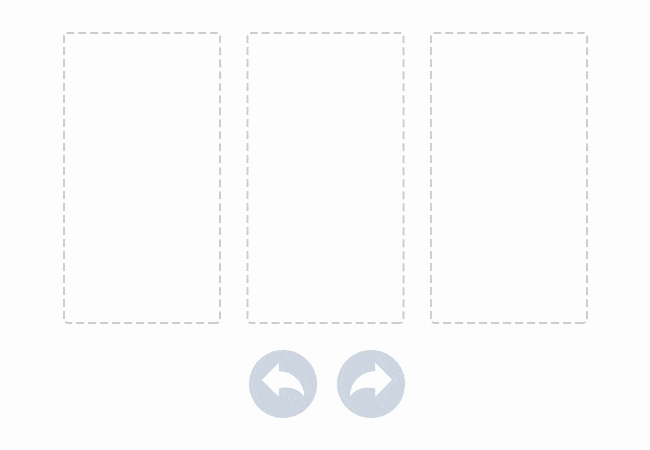
When designing with Xmailer, you can rewind and fast-forward to any point in your recent edit history. As soon as a change in the email or page is detected, a compact Undo widget displays in the bottom left corner of the builder, as shown here:

The widget displays 3 items that correspond to these 3 actions:

  • Undo and Redo arrows that offer the classic pattern to move back and forth between changes.

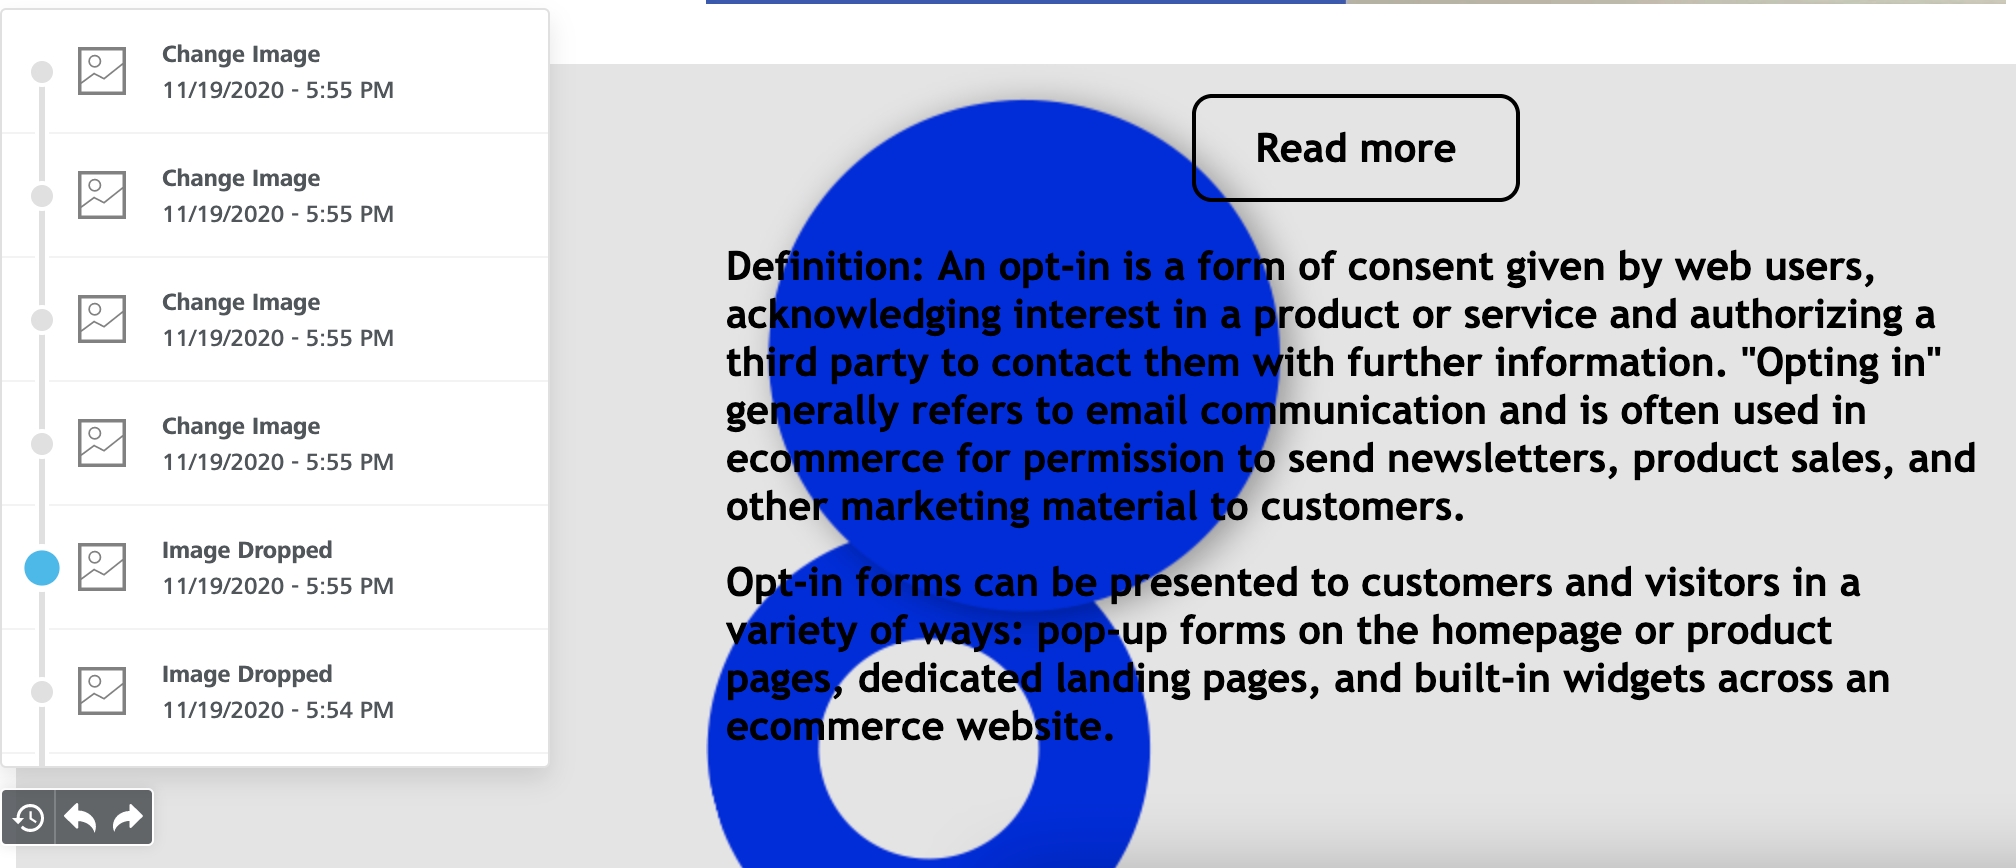
  • A history icon that expands a timeline of the latest changes, as shown below.

The history timeline allows you to browse back and forth through the most recent changes.

For each event in the timeline, Xmailer displays:

  • An icon to identify the type of content that was changed (an image, a text, etc.)

  • A description of what changed, including the new value assigned to the element, if any

  • The exact time the change occurred

All these details provide a lot of information about what kind of edit was applied. Moreover, they give you the ability to go back to a previous state with a high degree of precision.

When you select a previous step in the timeline, the content or row that was edited displays as the selected item, providing further context.

Note that when you go back, the timeline for more recent changes remains available, allowing you to move forward again, without losing any of the edits.

The Undo widget currently remembers the 15 most recent changes in the current browser session (it does not remember changes that happened during a different session), but you can always rewind to the "opened" step to go all the way back to the beginning.

Note: with the introduction of the Co-editing feature, the undo/redo feature has different behavior in order to prevent unwanted changes.