
Adding a background image to your designs
Where to find it
We've added more background image options! You can apply your background image to an individual row, or to your entire design.
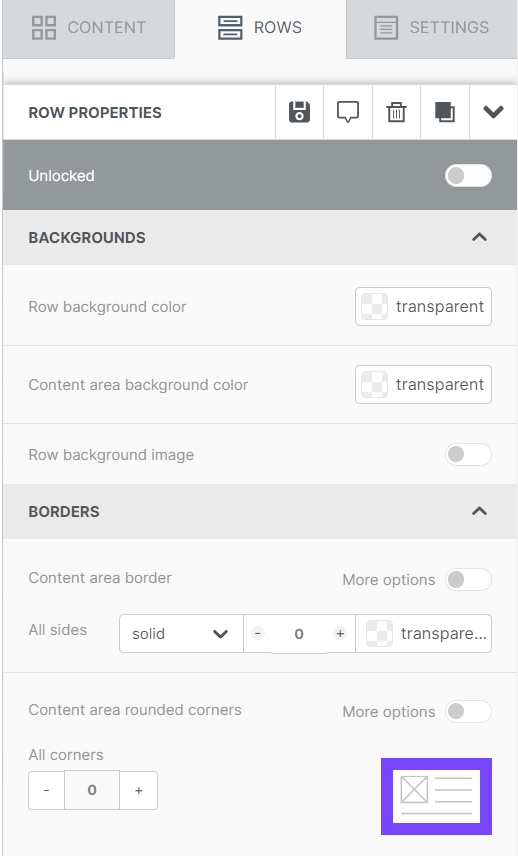
Row background images
Use this option if you want your background image to only populate on a part of your design.
Start by selecting a row within your design. You will see a Row background image section in the sidebar.
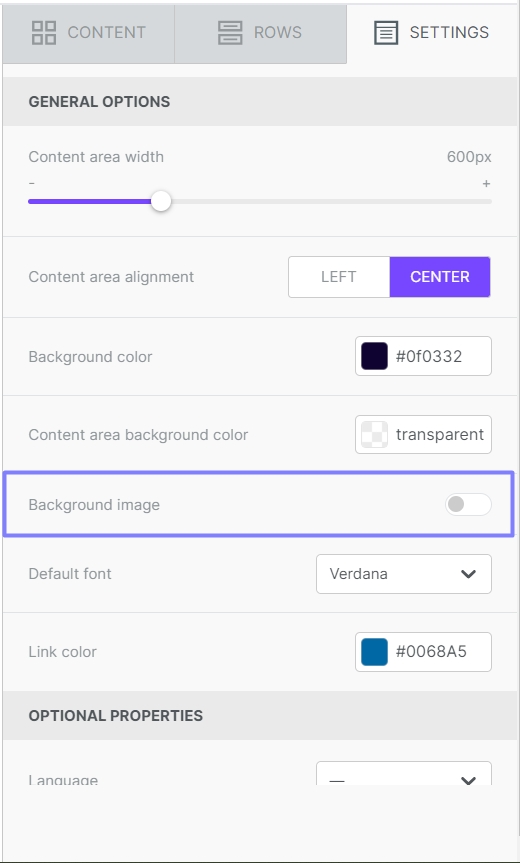
Design background images (New!)
Use this option if you want to apply a background image to your entire design.
Start by selecting the settings tab in the builder sidebar. You will see a background image section in the sidebar.
In both options, the background image is controlled by a toggle. It's disabled by default. Once enabled, additional options will populate. Let's explore the settings available for background images.
Row Background Image Settings Explained
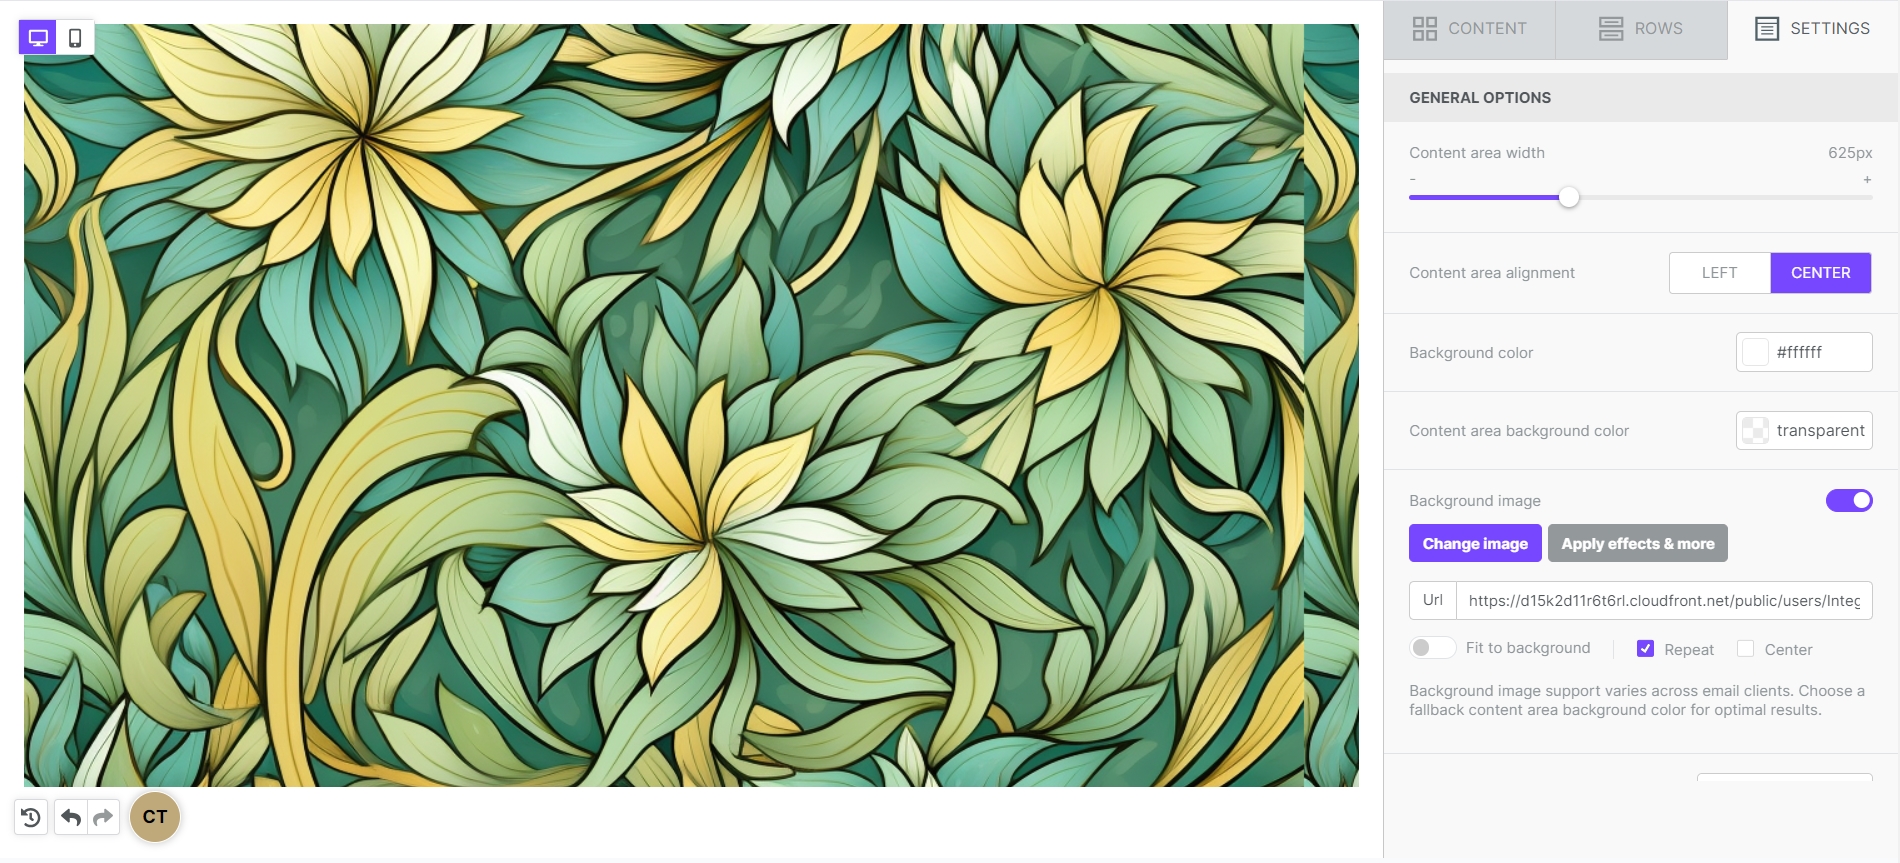
Selecting the image
Once enabled, you can upload an image for your background via the file manager. As with other image-based content, use the Change image button to get started. You can paste an image URL into the field if you wish to use an image hosted elsewhere.
Applying the image
After selecting your background image, you can choose how to apply it. You can apply the background image to the content area, or the entire row. If you select content area, the image will display within the content area width for your design. If you select row, the background image can extend beyond the content area.
Fit to background, Repeat, and Center
Now that you've applied your image, you may want to make some adjustments. What options do you have?
Fit to background
If you need to resize your image to fit the background, this is the option for you!
When you select the checkbox for fit to background, your image will resize to fit the container.

If you enable fit to background, you cannot select another option.
If you disable this option, your image will display with the original dimensions.
Repeat
As the name suggests, this option will cause your image to repeat. This works well with smaller images or symmetrical patterns. If you choose to repeat the popcorn background, for instance, the design would now look like this:
Center
As the name suggests, this option will center your background image.
If you use Repeat and Center simultaneously, the effect is similar to Fit to background. With these two options selected, the background image will repeat rather than resize. For example, say you created a background image specifically for one design. The dimensions may be important to the integrity of your overall design. If this is the case, consider using this combination of settings.
Email Client Compatibility
This section only applies to designing emails. Background images are compatible with all popular browsers. However, we always recommend setting a background color similar to your background image. This way your design will still work if your background image fails to display.
Xmailer uses advanced techniques to ensure background images render on most email clients. That said, there are situations where background images may not be shown.
According to our tests, the following clients do not support background images:
Outlook desktop on Windows. (However, background images work on Outlook 2011 & Outlook 2016 on OS X, and on outlook.com)
Lotus Notes 7
free.fr email client
T-Online.de email client
Xfinity / Comcast email client
Last updated